This is the hundred-fifty-ninth in a series of posts on the Vietnam War. Go back to the previous post in the series or return to the master post.
A quick compare-and-contrast exercise seems in order. I just completed the series of Hamburger Hill scenarios from John Tiller. Afterwards, I expressed some surprise about how they were structured. At roughly the same time as the fighting over Hamburger Hill, the NVA attacked an American firebase at LZ Professional. That fighting was modeled with a pair of scenarios, also created by Tiller but this time as part of the Squad Battles: Tour of Duty release. In a number of ways, the experience of playing these two ended up more in line with my expectations – perhaps in a large part due to them being the newer of the two efforts.
While I decided I was being shown a lesson by Tiller in the Hamburger Hill scenarios, it wasn’t the lesson that I expected. With The Ambush at LZ Professional, the first of this pair, I am thinking that maybe that lesson – the one I had expected to learn – is back on the table.
I’ll explain myself, but that might entail giving a little more away about this scenario than I’d like. Don’t read ahead if that’s a problem for you.

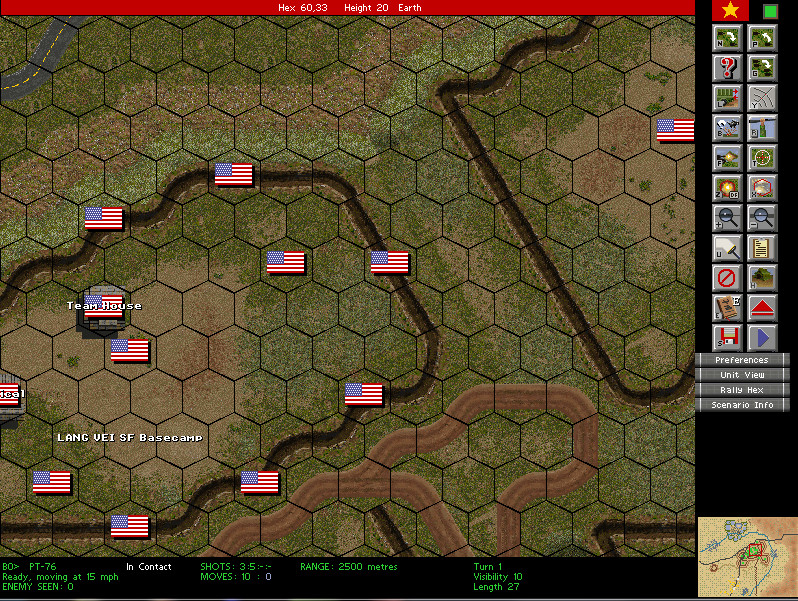
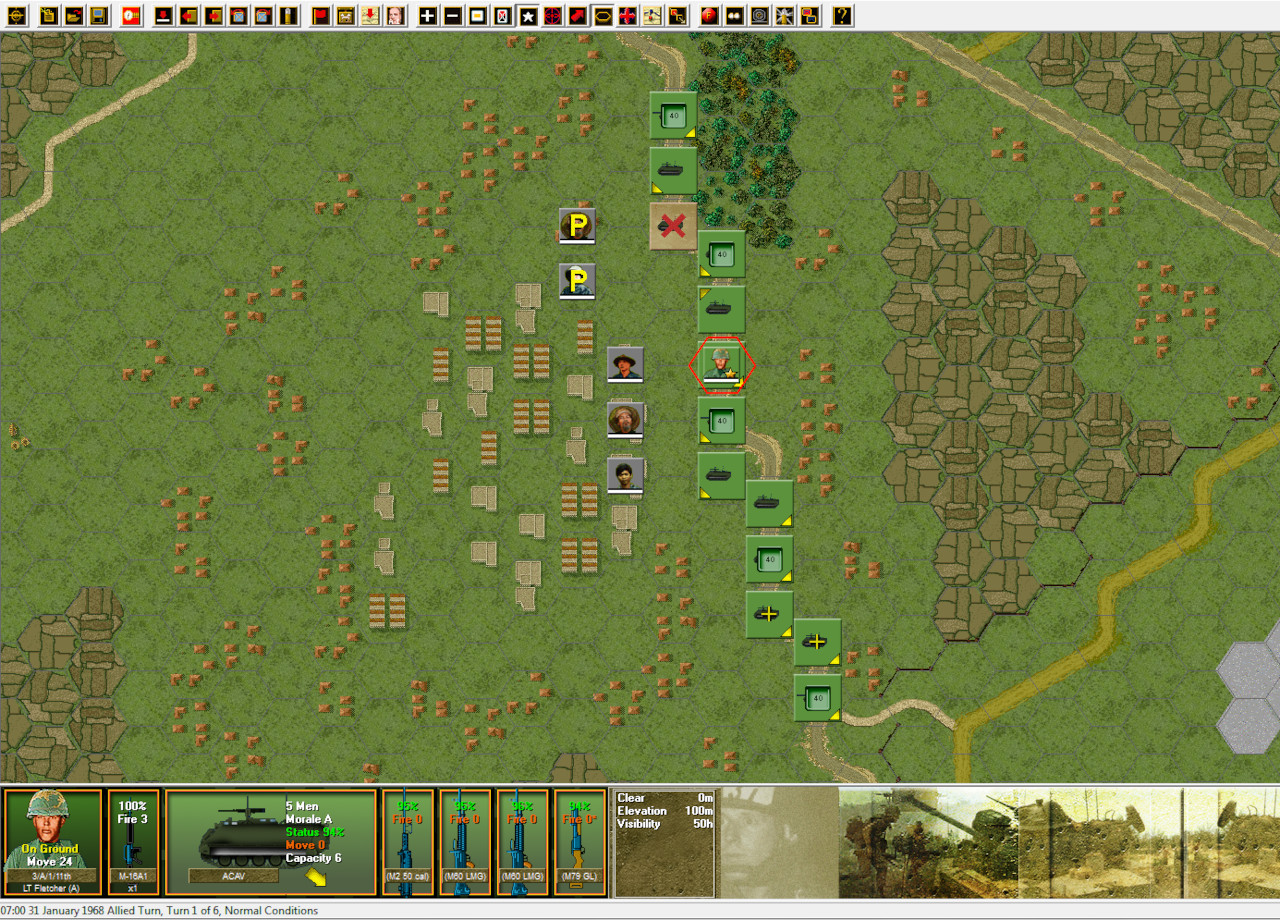
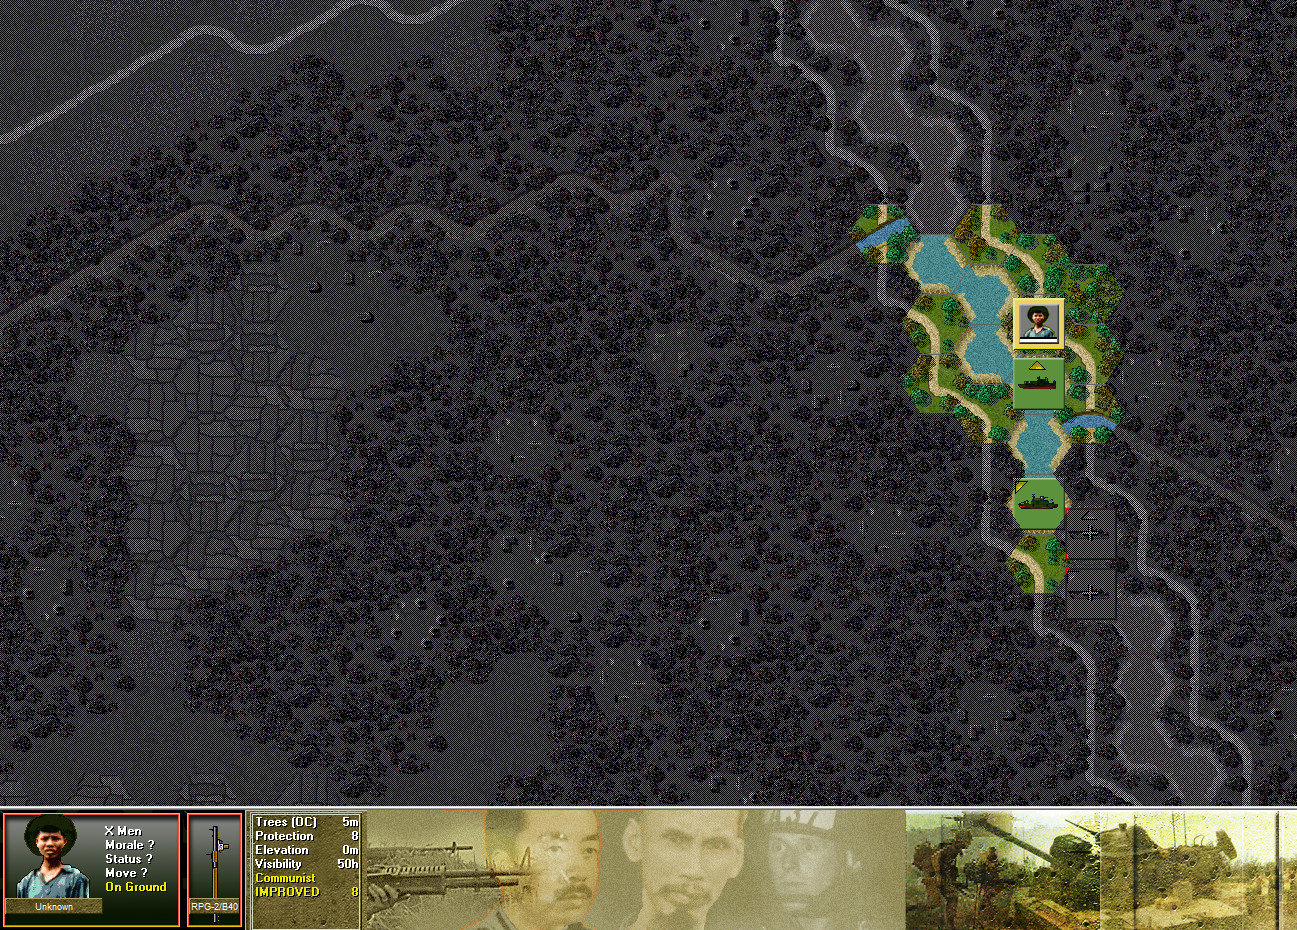
The above screenshot shows the situation on Turn 1, but captured after the NVA AI player has made his move. It shows a company running into an ambush while on patrol. There are three victory locations along the trail, all visible above, and the natural assumption is that victory for the U.S. player involves hunkering down and defending those locations.
But does it?
Realize that another reason for placing victory locations on a map is to drive AI behavior. The placement in relation to the American column means that the AI is going to aggressively execute its ambush. That doesn’t necessarily mean that the American player is compelled to defend.

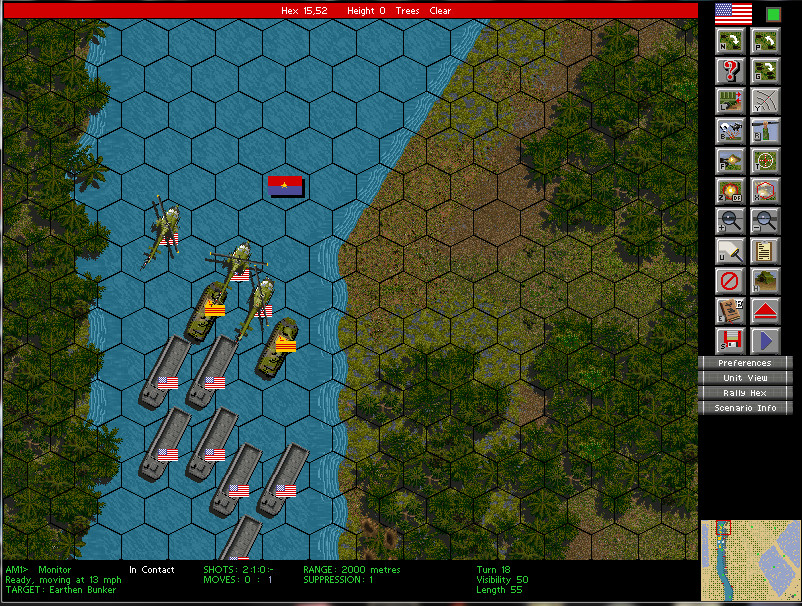
It was a few turns into the scenario before I noticed that some friendly fire was coming from what I thought was “off map.” The position captured in the above screenshot is down and to the right from the first screen, the one higher up. It is essentially along the line of the road, were you to follow its straight line. It represents the defenses of Professional’s position and is manned by another company of infantry. Lacking, of course, is the artillery support that is the raison d’être for the position in the first place.
At that point, I realized there might be another viable strategy. After encountering a sizable force out in the jungle, maybe the smart move would be to retreat towards the covering fire of the nearby friendly base. After all, there is even less of a purpose to holding several points along a patrol path than even a soon-to-be abandoned hilltop. Perhaps with The Ambush at LZ Professional, Tiller is trying to teach me that discretion is sometimes the better part of valor.
In this case, I did not explore much in the way of alternate approaches. By the time I realized that I probably wanted to go a different path, I had already had units pinned down with some major casualties racked up against me. I did quickly give up the furthest of the victory hexes and this seemed like the right choice. At the end of the day, I scored a minor victory despite giving the points over to the enemy. It seems plausible that if I had prioritized limiting losses over holding ground, I could have improved my margin.

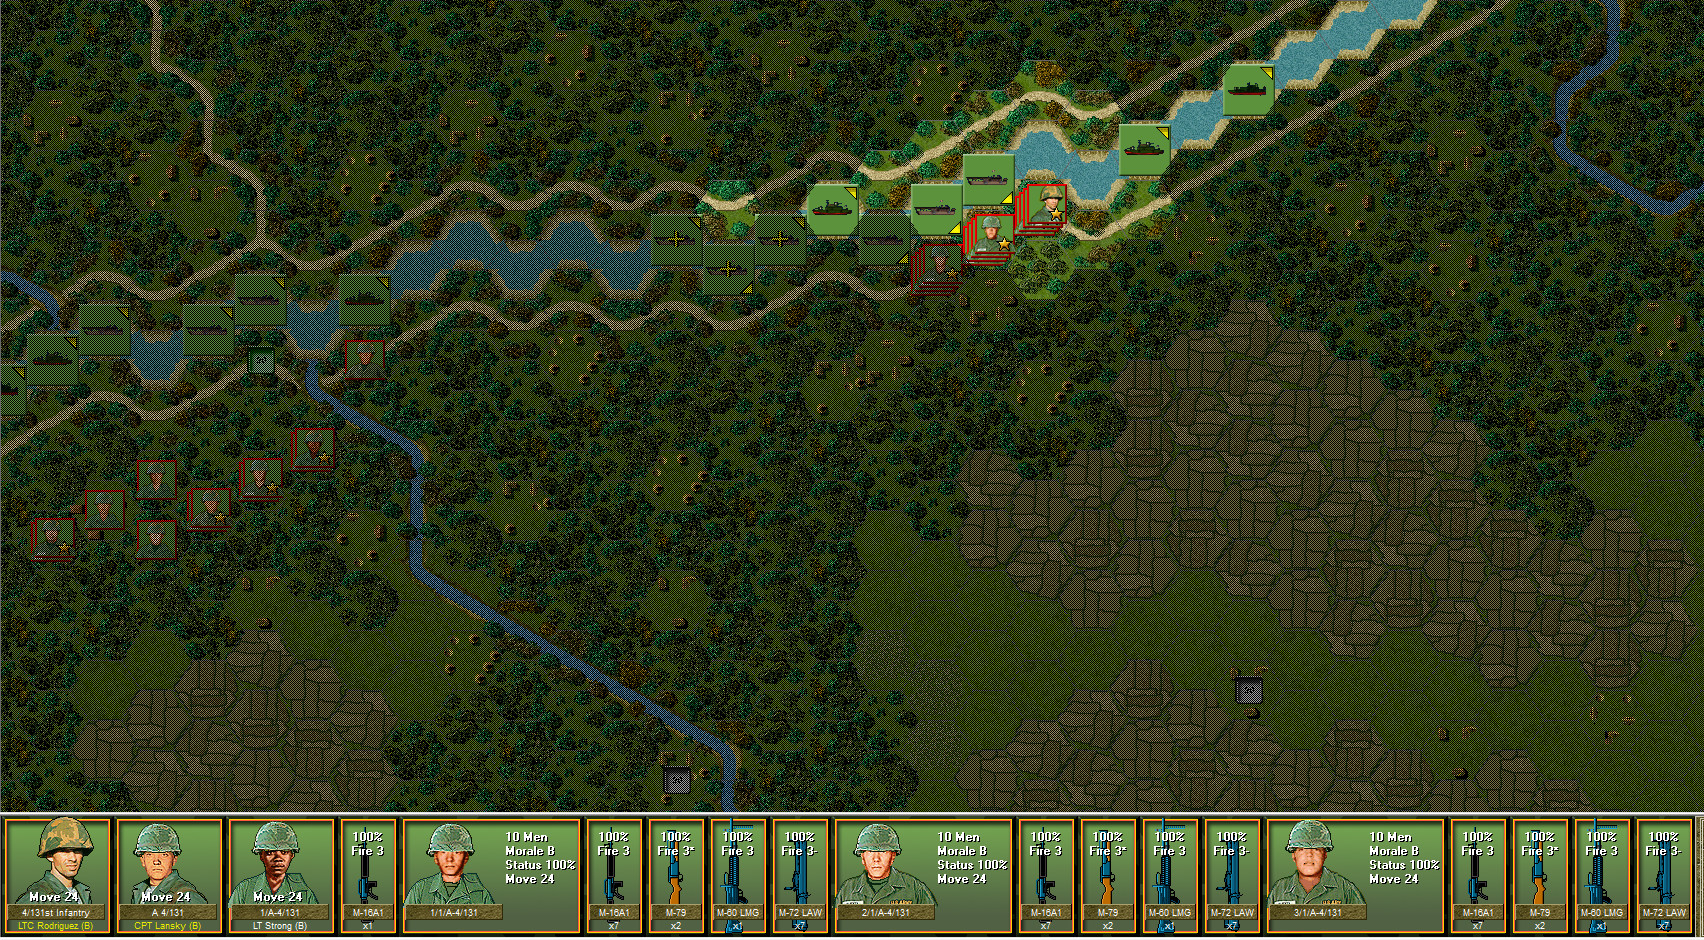
Tiller made a second scenario taking place near LZ Professional at around this same time, although there isn’t really the linkage between them. That is, this pair isn’t telling a “story” in the way that the seven serial scenarios of Hamburger Hill have. A week or so after the above-described ambush, a company from the 101st was airlifted to pin and destroy an NVA position near the fire base. The action was modeled in Squad Battles: Tour of Duty with Attack on Recon Zone Alpha. In it, a company from the 101st is airlifted into position and then, supported by helicopters, they are to eliminate the enemy.
I haven’t found a whole lot online about the battle – at least not through my usual sources. In my attempt to learn by gaming, and in line with much of my experience with Squad Battles and helicopter support, I lost a handful of the support vehicles. Helicopters are worth enough points that this got me creamed in terms of score.
I find this frustrating because, as I’ve complained before, the loss of vehicles at long range feels arbitrary and capricious. Most of the time, the NVA can blast away at helicopters from afar with their heavy machine guns without doing any damage. But sometimes you roll snake eyes and a chopper goes down.
While I complain, this may put the scenario in line with the actual battle1. From what I have found, the attack on the NVA position relied heavily on air support (both helicopters and fixed-wing aircraft) and the U.S. aircraft took a beating from the NVA. The helicopters were especially vulnerable to the DShK 1938 anti-aircraft machine gun which is sometimes referred to as the “copter killer.” Perhaps Tiller’s lesson for me this day is just how effective that weapon could be.
Return to the master post or just move along to the next article, where discuss the 10-part Australian TV series Vietnam.
- In a general sense, rather than the specific. I’ve found some after action reports on the web (June 2nd, converted to text here). I don’t see that the fighting on June 2nd was particularly deadly. Rather, the experience of playing the scenario mixes the results of weeks of trying to pin down and eliminate the enemy from this position. ↩︎