
Tags
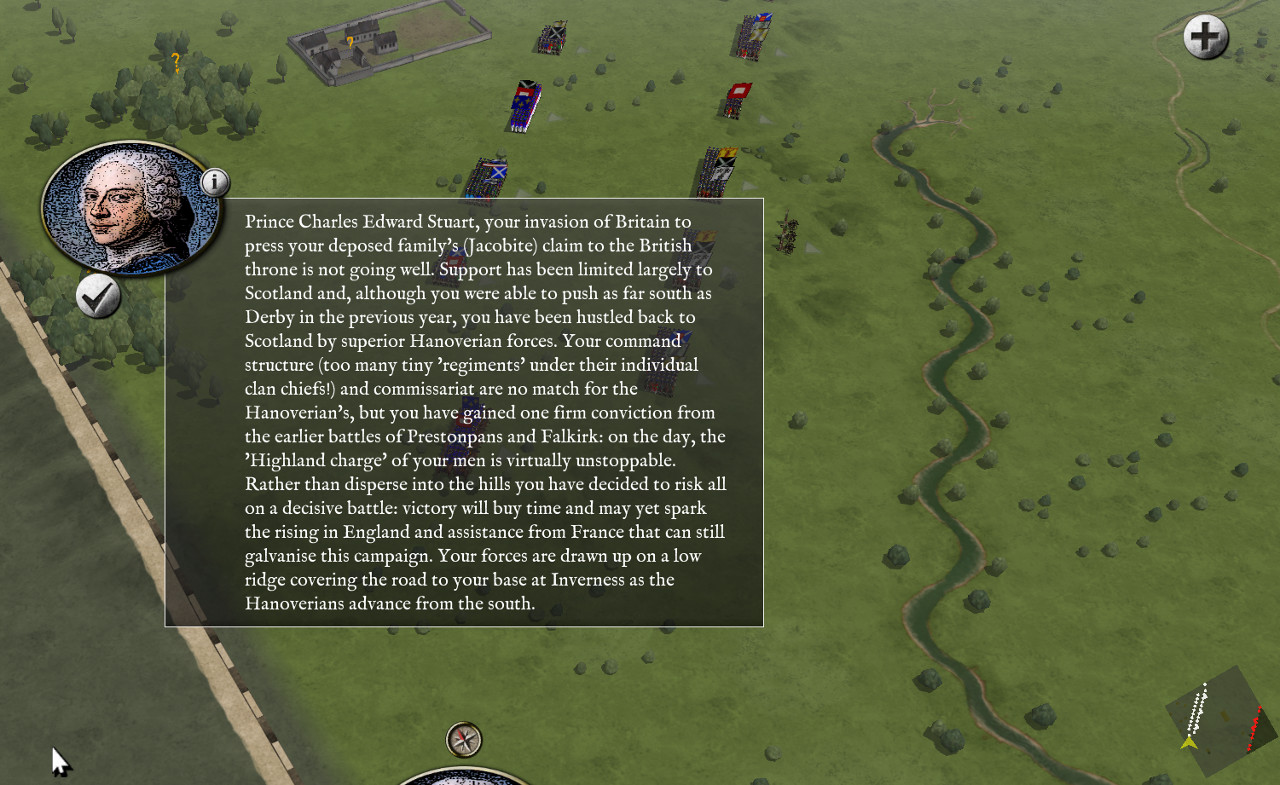
Late at night, on the 16th of April, I had a friend’s Facebook post float through my feed. He was commemorating the anniversary of the Battle of Culloden by posting a video with Scotland the Brave performed on bagpipes. I’ll do the same (see below), but my preference for commemorating a battle is to find a good scenario based upon it and to play it.
The battle took place on April 16th, in 1746. It was the last hurrah of the relatively short-lived Forty-five Rebellion, or Jacobite rising of 1745. The defeat of the Scot Jacobites on the field put an end to Bonnie Prince Charlie’s claim to the English throne. While Charles Stuart was able to escape back to France, and while there remained a hope for some who wished to see a restoration of the Catholic dynasty of James Stuart, practically speaking this put an end to any threat, either politically or militarily, from the Jacobite cause.
Given its date, the first obvious place to look for a battle scenario was Pike and Shot and I was immediately rewarded. There is a user-made trio of scenarios; a multiplayer plus a single-player from each side, for the battle. Eager to don the tartan, I downloaded the single-player Jacobite version and set to playing.
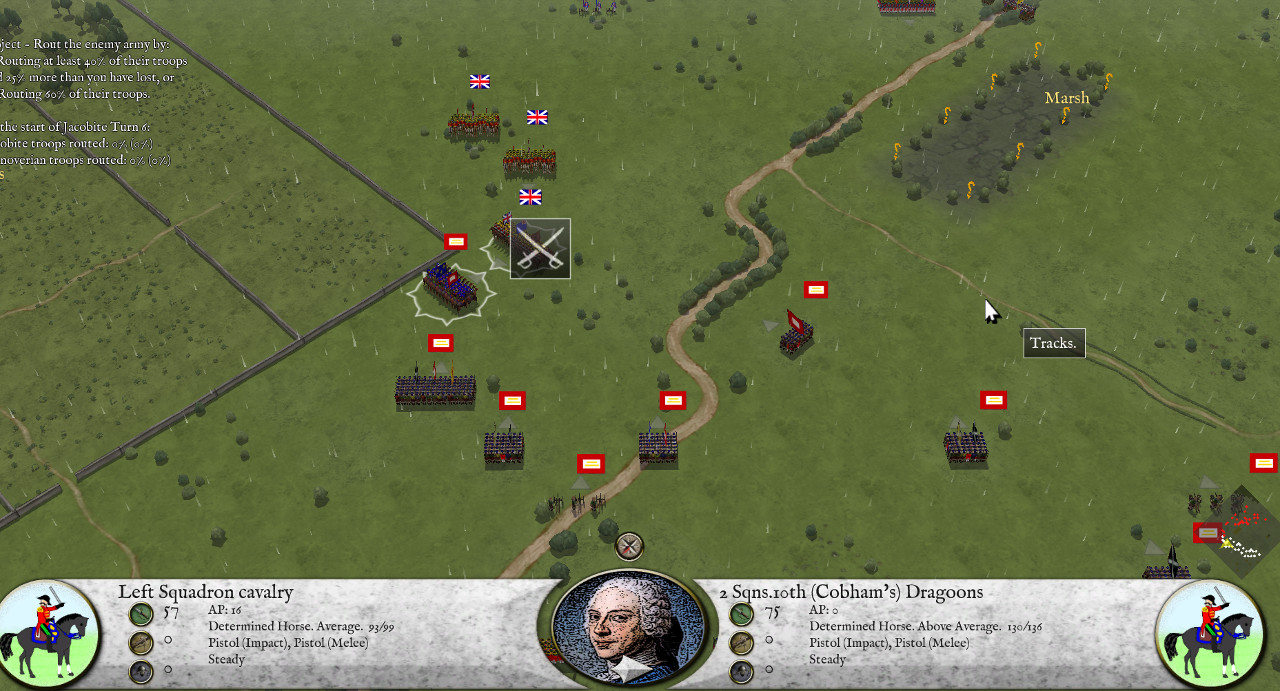
The short version is I got my arse kicked. I lost and I lost bigger, even, than I usually do. I tried a strategy of holding my forces back and taking advantage of rough terrain and it obviously just didn’t work. I’m not entirely sure what I did wrong am I’m not sure I am motivated to find out.
The scenario is nicely put together in that it describes each of the units in full detail. While my knowledge of this battle and this conflict is limited, it does give me a sense that is has been properly researched and presented. The real battle, also, was a one-sided route with the loyalist forces winning an overwhelming and lopsided victory. I can’t say that the tactics fully reflect the period (particularly in this corner of Europe) but the end result seems right.
To test my hypothesis, I downloaded the companion single-player scenario and tried again, this time commanding the King’s army. The result was, this time, a solid victory for me. It wasn’t nearly as lopsided as my loss, but I’d rather not speculate on why all that might be. Clearly this, as a historical battle, is modeled to be deliberately lopsided; because that’s how it was.
The scenario is intended to demonstrate competing tactics; the Jacobites employed a “highland charge” against formed infantry. The tactic could be effective – if charging infantry could withstand the losses of a first volley at close range, they might then overwhelm the enemy in hand-to-hand combat. Unfortunately for Bonnie Prince Charlie, this maneuver was not effective at Culloden – possibly because the British infantry were learning how to use the bayonet to counter the Scotsmen’s attack. It may also be that the Jacobite command thought it better, as my own gut suggested to me, to take a defensive stance, thus neutering their own offensive tactic.
Once aspect of this scenario design that I do not understand was the decision to line the battle up along the diagonal.
Pike and Shot, if you hadn’t noticed, is played on a square grid. To counter the distortion of that map design, diagonal movement is penalized with a higher movement cost relative to moving forward across a square’s edge. In the typical renaissance scenario, this limitation works with the capabilities and limitations of the armies being modeled. Marching forward to attack in “battle” formation works fairly well. Attempts to pivot, realign, or otherwise deviate with the plan tend to suffer from the detriments associated with movement along the diagonal.
This works when the scenario has the armies lined up against each other just before the point of engagement.
Culloden, by contrast, starts with the “game board” arrayed as a diamond shape, with each army anchored in its own corner. Advancing directly forward forces one to go against the grain. Furthermore, the initial distance between armies (and the lack of the yet-to-be-developed group move) makes for a painful set of opening turns. There is also a “gamey” aspect to this that I haven’t really explored. To advance directly forward along a diagonal, infantry is typically limited to one square per turn. If instead you are willing to veer to the left or right, you can get one extra square, although you’re left slightly off kilter. In terms of maximum movement in a turn, this exceeds (by a fraction of a unit) even the straight-line move across square sides. I suspect that there is a min-maxer advantage when playing on a diagonal board, but I’d rather not spend the brainpower to try to figure it out. It seems, as I said, too gamey.
Was the diagonal layout chosen to make a point about maneuver and the highland charge? Maybe it was just seen as a more efficient use of space? The point on the battlefield where the engagement takes place is now, also, the widest spot on the board.
I don’t know but I think I would have preferred a more traditional setup. Other than that, I thank the healthy community of modders that seem to make Pike and Shot scenarios available to me whenever a whim seizes me.
