
As much as I failed utterly when I lead my Teutonic Knights at Tannenberg, the experience has much improved my perception as Pike and Shot for its earliest time range. I’ll even go so far to say that I still prefer Pike and Shot to Field of Glory II. Although the latter has clearly made some user interface improvements that enhance gameplay, it hasn’t been enough to quell by ardor for the former. Graphically, there is no doubt Field of Glory II has added much, but it has come at the expense of losing the period art of Pike and Shot. Particularly when considering this metric, I’d have to say that the improvements are close to a wash.
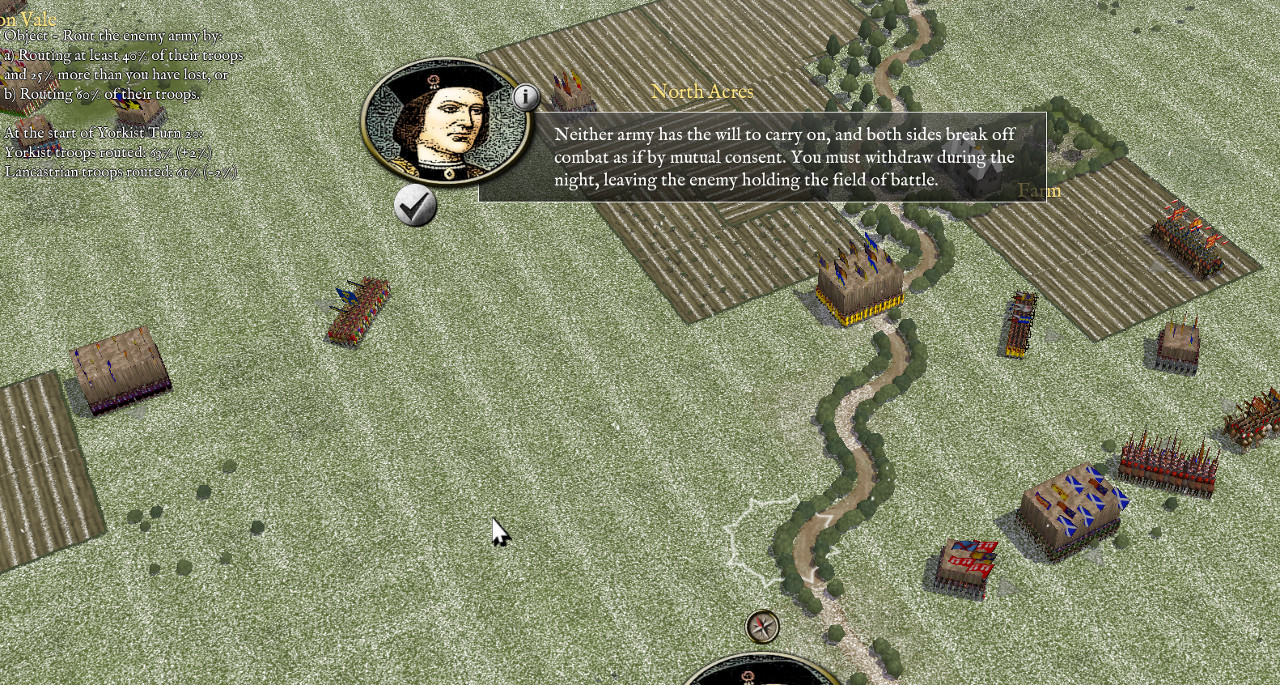
So what is it? Why am I so much more enamored with this game? Maybe it is the technology that is being modeled. The gunpowder, the clouds of smoke… it all does more for me than a generic “ranged attack.” That said, the experience also has a lot to do with the scenario design. It takes the right mix of units on the right terrain to really make a scenario come together. There are a few Pike and Shot scenarios that have absolutely got this combination just right. For example, look at the screenshot below. Pike and Shot‘s Towton may be an example of the best this engine has to offer.

The fight at Towton is likely the largest battle ever fought on English soil. The clash took place on March 29th of 1461 during a snowstorm. The blowing snow obscured vision making the armies reluctant to march forward into battle. The still screen grab doesn’t do the game justice. While playing, one enjoys animated effect of falling snow, the aesthetics of which look just perfect.
The battle plays out very much as the scenario’s introduction, not to mention a review of the history books, says it will. York comes to the field with fewer soldiers and it was only the timely arrival of reinforcements under the Duke of Norfolk that turned the tide. In my game, I was unable to do so, but it turned out about as close as it’s possible to get. Score wise, I came from behind to almost eek out a win. Instead, both armies slipped over the breaking point (60%). In the end I had 2% more in losses, but I’m not sure details are that important. The game’s interpretation is that both armies must retire from the field. For the player, this “tie” is considered a failure and is reported as a loss. The same result would have occurred if I were up by 2% instead of down.
I’m not sure where my mistakes were but I am quite sure I made at least a few of them. My takeaway is that, in addition to all the other things I loved about this scenario, it seems the difficulty was right where it should be for me.
Towton isn’t the only Wars of the Roses scenario in the user-made section for Pike and Shot scenario. After finishing the first, I downloaded and played two more.
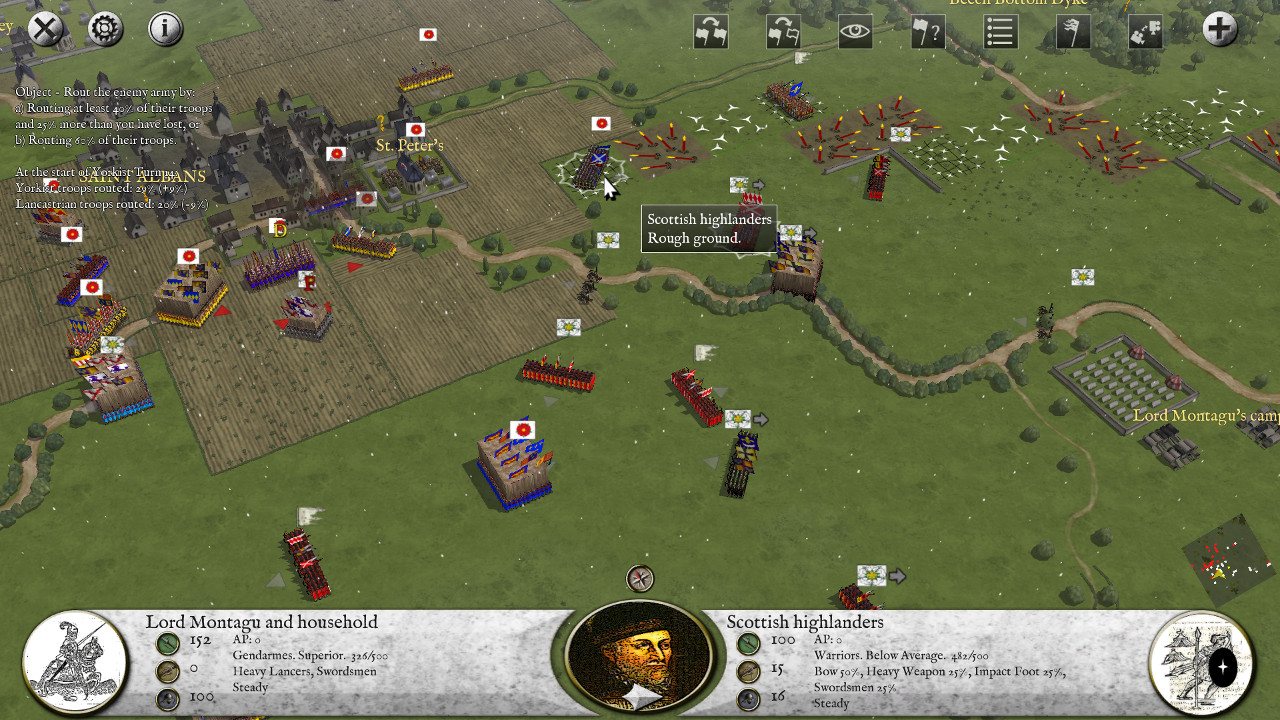
The screenshot above is from the Second Battle of St. Albans. The player again takes the side of York which, historically, came out on the bottom this time. Margaret of Anjou’s Lancastrian forces evaded Richard Neville’s scouts so as to surprise him, with superior numbers, on the flank and rear of the Yorkists’ prepared defenses. Hobbled by confusion and damp gunpowder, Neville was ultimately forced to flee the field when night fell. The scenario’s notes indicate that St. Albans is meant to be hard and it was. I got crushed. It does seem to be a fair reproduction of the tactical battle.
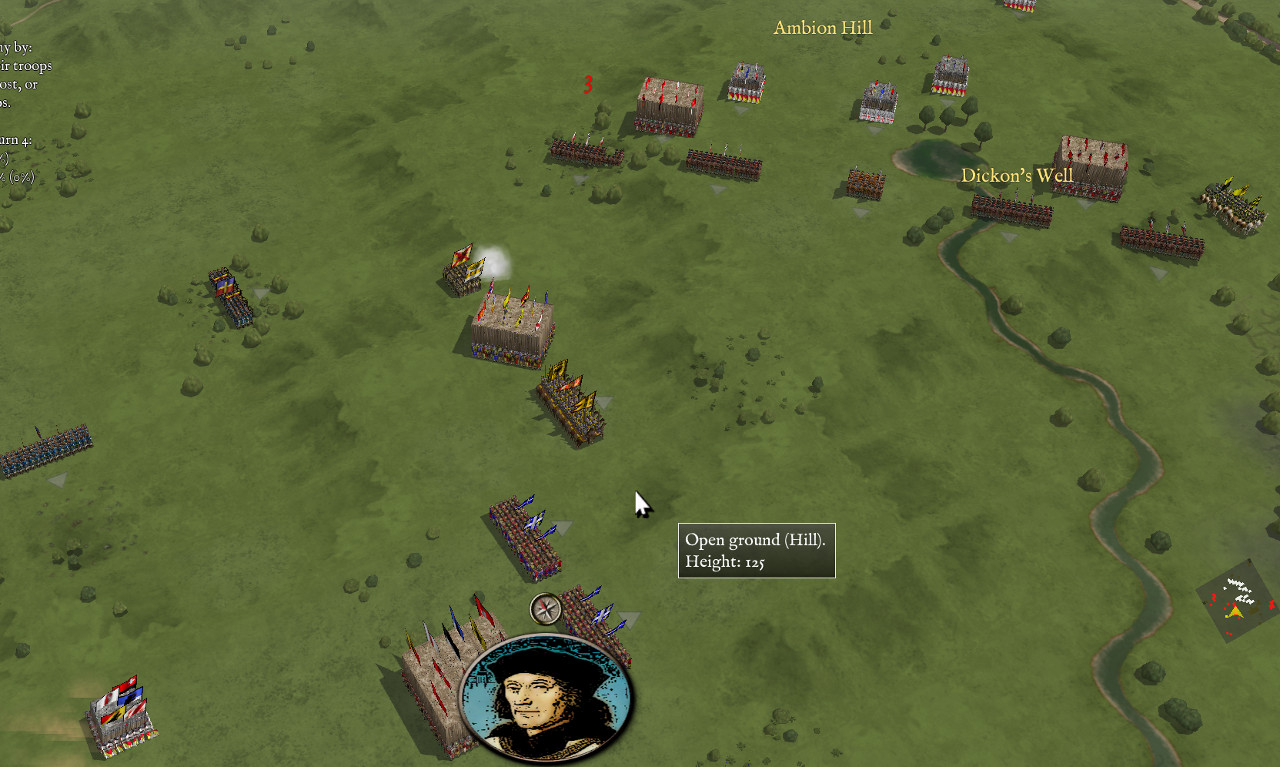
Counterintuitively, I found my third scenario, a reconstruction of Bosworth Field, a fairly easy win when playing as Richard. Or at least it seems counterintuitive because this was Richard’s great and final defeat. It is also an event whose facts are obscured by the passage of time plus a generation or two of propaganda about the evils of Richard III (and the divine blessing which brought Henry VII to England). Certainly once the news of Richard’s death spread, his army lost interest in fighting for his cause. What might have happened if Richard had not been killed when he did? What if he had not led his knights personally in a charge against Henry’s retinue?
These are the questions which a scenario, such as this one, might seek to answer but, then again, such a scenario is only as good as the assumptions that go into it. Who and in what number were present on the field that day? Which nobles betrayed Richard? Were some of the supposed “betrayals” simply a failure to communicate across a muddled battlefield? Remember, this is a historical battle where very recently historians have come to reassess where the battle even took place? About what else do we have no idea?
To that last point, the scenario notes explain that this battlefield was created based on the “old” location for the battle. I did not delve into the order of battle but it should properly give the advantage to Richard. Should his loss hinge on a few ill-timed defections and an ill-considered mounted charge? I may have to return to this battle when I’m more focused on the end of the Wars of the Roses rather than the beginning.

Pingback: The Red King’s Dream | et tu, Bluto?
Pingback: Thy Name that is My Enemy | et tu, Bluto?
Pingback: Short Tale to Make | et tu, Bluto?
Pingback: Blizzard | et tu, Bluto?
Pingback: Pikes of Glory | et tu, Bluto?